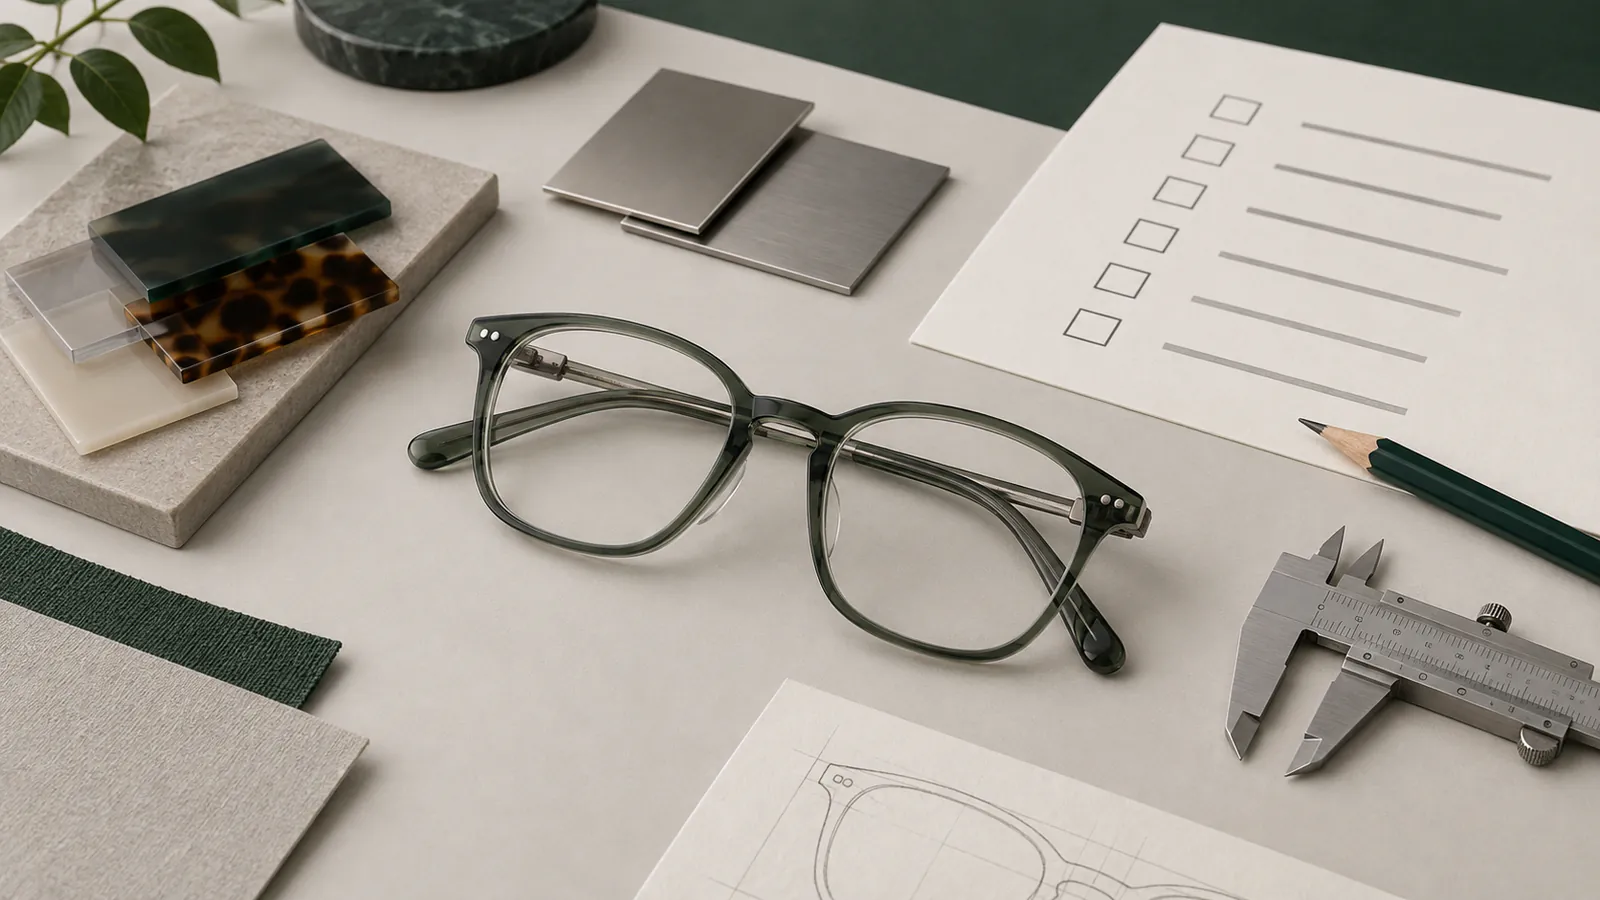
A custom eyewear project can start before you have a finished production specification. A short brief should show the frame you want, the order you are considering and the decisions that remain open. You can begin with a drawing, 3D model, reference sample or early idea. Use the checklist and example below to organize what you already have. Leave unresolved details open rather than filling them with guesses.
1. Define the project context
Start with the reason for the new frame. Identify the target customer, intended market position, sales channel and any collection or launch plans that affect the design.
This context helps the manufacturer understand why particular dimensions, colors or logo placements matter to the project.
Include:
- the intended customer or wearer;
- the product or collection concept;
- the target market and sales channel;
- the planned quantity range;
- any target date and what drives it.
A target date helps with planning, but it is not a confirmed production schedule. Sampling, changes, materials, finishes, quantity and approvals can affect the timeline.
Also name the starting route. For an existing style with your logo, provide the model and requested changes. For a new frame, explain the design direction and what needs development. A wholesale order for an unchanged model does not need a new-design brief.
2. Choose the clearest starting input
Send your clearest design reference and explain how to use it. Is it a fixed requirement, an early idea or an example open to interpretation?
Possible starting inputs include:
- a dimensioned drawing;
- a 3D model;
- a physical reference sample;
- marked photographs or sketches;
- a written concept supported by visual references.
If you send several files for one frame, identify the current version. Point out where a visual reference differs from the dimensions or construction you want.
Label each reference by purpose: front shape, fit, temple detail, color or logo position. A photo used to explain a shape is not evidence of the frame’s material or exact dimensions. Mark what you want to retain and what you want to change; a reference is not a request to duplicate the whole product.
3. Record frame direction, construction, and dimensions
State the material you are considering and describe the parts that define the frame. These may include the front, rims, bridge, temples and connections.
Provide known dimensions and fit targets. Where a value is still open, label it as a decision to review instead of presenting an estimate as final.
Separate confirmed requirements from open design questions. That gives both sides a clear starting point without pretending the specification is complete.
Separate component materials from the frame label
List the front, temples, hinges, screws, nose pads and pad arms where relevant. Record a specified material only when you know it. Do not assume every component shares the material named for the frame.
If titanium is your current preference but the grade or component allocation is undecided, say so. Ask for a proposed material specification rather than selecting a grade to complete the form.
Make dimensions traceable
For measurements you already have, name the dimension and unit: lens width, lens height, bridge or distance between lenses, temple length and overall front width. Mark whether each value is a measured reference, a proposed target or an agreed requirement. Use a marked drawing to show the points being measured.
ISO 8624:2020 covers spectacle-frame measurement terminology and a measuring system for frames with intended symmetrical fronts. Agree the measurement method with the manufacturer; do not treat a casual measurement and a drawing dimension as interchangeable.
If you have no measurements yet, identify the physical frame you are using as a fit reference. Ask which dimensions need to be established during review. Do not guess tolerances or promise a universal fit for a country or wearer group.
4. Define appearance, branding, and packaging
Organize visual requirements by location. State where each color or finish direction applies and attach a clear reference when words alone are insufficient.
For branding, provide the current artwork and indicate placement, approximate size, orientation, and color direction. If different variants use different treatments, show the pairing clearly.
If packaging is part of the project, list the components, labels and artwork you already have. Flag missing packaging decisions before the production handoff.
A marked image can show the desired logo location. Record the artwork version and any proposed width in millimeters. If the application method is undecided, ask what is suitable for the selected component instead of requiring an unverified process. Confirm color and finish against an agreed reference, not only a screen image.
5. Give quantity and commercial context
Give the expected total quantity and proposed split by color, size, branding or other variant. The manufacturer needs this breakdown to review the order.
Our stated starting MOQ is 100 pairs per model and per color for qualifying projects. The final MOQ depends on frame construction, material, finish and customization. Cost and timing also need project-specific confirmation. The starting MOQ does not determine either one.
If the quantity is not fixed, give a realistic range and explain what decision will determine it.
Have a target price? State whether it is for the frame alone or includes branding, packaging or delivery. Ask the supplier to identify inclusions, exclusions and unresolved specifications. Use the MOQ planning guide for the model/color breakdown and the quotation comparison guide when reviewing offers.
6. Prepare one controlled project brief
Keep the first brief concise. Put the important requirements in one place instead of spreading them across messages.
Use this as a working checklist, not a requirement to finalize every field before contacting a supplier. For each item, distinguish a fixed requirement from a preference or a decision still needing review.
| Brief item | Include when available | If not decided |
|---|---|---|
| Project route | Existing model with changes, or new frame development; wearer and sales market | Describe the intended product and ask which route fits |
| Design references | Current files or sample ID; purpose of each reference; requested changes | Send a sketch or annotated photo to explain the idea |
| Materials and parts | Known front, temple and relevant component requirements | List material preferences and ask what needs confirmation |
| Dimensions | Named values, units, measurement reference and status | Identify a fit reference or explain the fit goal |
| Appearance and logo | Color/finish references; artwork version, location and proposed size | Describe the intended result; request options for review |
| Order and packaging | Quantity by model/color, price scope and packaging requirements | Label estimates and ask what is needed for a quote |
| Review and timing | Buyer contact, brief version, target date and outstanding questions | Name who will decide each open item and the next review step |
Example of a first project brief

This fictional example shows how to communicate an early idea. It is not a customer case, product specification or promise that every request is feasible.
Project: Optical frame for an independent retail collection. Please review whether an existing model or new development is the better starting point.
References: Front sketch A for the outline; physical reference B for fit. The temple shape is open for review. The two references are not a complete production design.
Materials and size: Titanium is a preference, not an approved specification. Component materials and dimensions remain open. Please identify the measurements needed for the next review.
Branding: Current logo artwork is attached separately. Proposed location: inside the temple. Size, method and color need confirmation.
Order: Please quote the proposed model/color quantities shown in the order list. Identify sample, branding, packaging and delivery charges separately from the frame price.
Next step: Please list missing information, proposed alternatives and what must be decided before a complete quotation and sample plan.
Keep files and changes under one version
Use a simple name such as project-a-brief-v02 and match it to the drawing and sample references. State what changed, who needs to confirm it and which older version it replaces. A newer file is not automatically an approved file.
When files disagree, ask both sides to resolve the difference in writing. Do not leave the supplier to choose between a sketch, a CAD model and a later message. Keep the current brief together with a short change list.
7. Understand the development sequence
The project flow is requirements review, sample development, confirmation of the sample and written requirements, then production.
Requirements review determines whether the starting information is sufficient and which questions need resolution. Sample development turns the agreed direction into a physical reference for review. The sample and written requirements then need to describe the same approved result before production can begin.
This sequence is not a promise of a fixed sample count, sample cost, or lead time. Those points depend on the project and should be confirmed after the design information has been reviewed.
For a public example of separate development stages, EXCEL’s manufacturing workflow lists planning, design, prototyping and technical drawing before production operations. It illustrates why a starting reference and a production document serve different purposes; it is not a description of our factory’s exact sequence.
Use the mass-production preparation checklist for the later approval decision. This first brief starts the review; it does not authorize tooling or bulk production.
What the first manufacturer response should clarify
A useful first response says what the manufacturer can review now, what needs clarification and what still needs a decision.
It may address:
- whether the starting files and references are understandable;
- which construction, dimension, finish, or branding details remain open;
- whether sample development needs additional input;
- what is required before MOQ, cost, and schedule can be confirmed;
- the next practical action for the buyer and manufacturer.
The response should also make any remaining uncertainties clear.
Common questions about an eyewear project brief
Do I need a complete tech pack to make an inquiry?
No. Send your available drawing, reference sample or design idea with the quantity and intended market. A tech pack is a set of technical documents for the product; the required detail depends on the project stage. Ask what is missing before treating the information as ready for sampling or production.
Can the material and dimensions stay open initially?
Yes. Describe the intended result and label your preferences. Ask the manufacturer to identify the specifications that need confirmation. Do not turn an unknown value into an approved requirement just to fill the brief.
Is sending the brief the same as approving production?
No. The first brief starts a discussion. Production needs a separate agreement on the sample, written specifications and order details. Keep the approved references identifiable so the production decision is not confused with an early concept.
Start with the information you have
You do not need every manufacturing answer before you make contact. Tell the manufacturer what is confirmed, what you prefer and what still needs development.
After preparing the brief, follow the eyeglass frame manufacturing process to see the decisions between the first reference and shipment. Review custom eyewear development for the project inquiry route. If the frame direction is still open, compare the available titanium, metal, and acetate project categories before organizing the material section of the brief.
That first brief gives the manufacturer a starting point and your team a record to use during sample and production reviews.